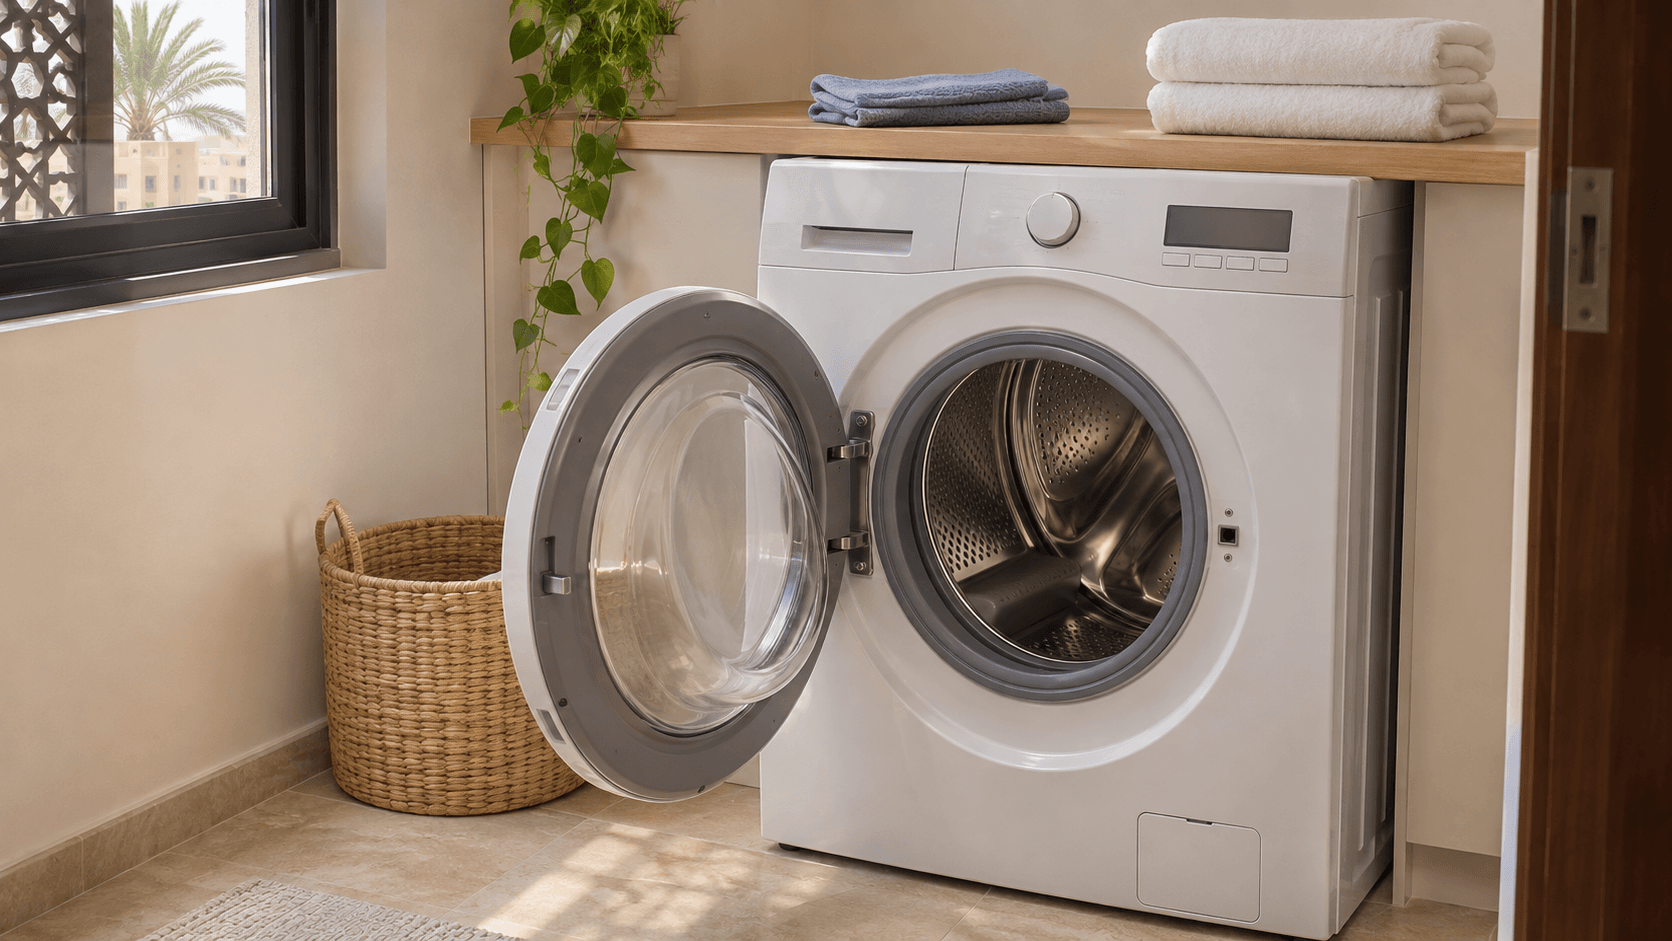
Before a home-service visit: five details worth sending
“The sink needs fixing” is a start. “Water appears inside the kitchen cupboard after normal use; the attached photos show the wet area” is much more useful. A few well-chosen details help the person arranging the visit understand the job, the access and the questions that still need an inspection.
Three steps: describe and photograph, explain access and scope, and check the finished work.
1. Say what you want done
Separate the symptom from the outcome. For a repair, explain what you have noticed and when it began. For cleaning, name the rooms and tasks. For assembly or installation, identify the item and whether it is already on site.
Avoid guessing the technical fix. “The door catches on the floor” leaves room for diagnosis. “Replace the hinges” may send the conversation in the wrong direction before anyone has examined it. If you have a manual, model number or previous service note, keep it handy.
2. Take a wide photo and a detail photo
The wide photo shows where the item sits and how much space is available. The close photo shows the visible issue, model label or part. For an intermittent noise, a short video may communicate more than a long message.
Photograph only what is relevant. Move identity documents, family photographs and other private items out of the frame. Do not share a gate code in a public review or public comment. Use the service's appropriate private channel for access information when needed.
3. Explain how to reach the work area
Include the building, floor, lift availability and any parking or reception arrangements. Mention if a caretaker must unlock a roof area or if equipment has to be carried up stairs. These details can affect preparation even when the repair itself is small.
Clear an ordinary route to the work area. Empty the cupboard beneath a leaking sink if it is safe and dry enough to approach. Put pets in a comfortable separate space. Keep children away from tools and the work area during the visit. Do not move heavy furniture or disconnect appliances yourself just to “save time.”
4. Agree on the scope and price questions
Ask what the selected service includes. Is it an inspection, a specific repair, or a defined amount of cleaning? Are parts and consumables included? What happens if the inspection finds a different issue? Read the actual booking details rather than assuming all services follow the same terms.
For additional work, ask for an explanation and the revised cost before authorising it. Do not treat an early estimate based on a message as a guaranteed diagnosis. Equally, you should understand a change to the agreed work before it begins.
5. Decide how you will check completion
For a repair, ask the professional to show normal operation and explain what was changed. For cleaning, walk through the rooms and tasks agreed at the start. For assembly, ask for a demonstration of the finished item's intended operation and any care instructions.
Keep the invoice, service notes and any stated warranty terms. If follow-up is needed, report the observed problem with the date and relevant photos. Clear records are more useful than trying to remember the conversation weeks later.
A request you can adapt
“I need help with [item or area] in [room]. I noticed [symptom] on [day]. It happens [when or how often]. I've attached an overall photo and a closer view. Access is via [floor and lift details]. Please confirm the visit scope and explain any extra work and cost before proceeding.”
For cleaning, replace the symptom sentence with the rooms and specific tasks you want covered. Keep the message short enough that the key facts are easy to find.
Browse the current Tasko services and check the details of the option you select. For a leaking sink, the pre-visit plumbing checklist helps you collect observations without attempting a repair.